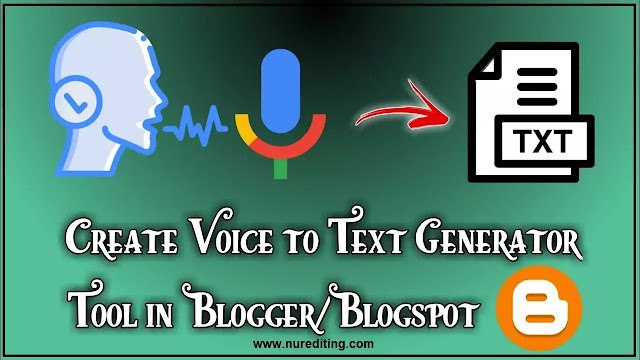
Hello friends! Welcome to your NUR EDITING blog. So in this article today we are going to talk about How to Create Voice to Text Generator Tool in Blogger. And this Blogger me Voice to Text Generator Tool website. So we will know all these things in this article. So stay in this article and know more details.
There was an earlier time where people used to do everything by themselves. But over time everything changed. And now the world is moving towards the Digital World. So people are also becoming very lazy in this situation.
What is Voice to Text?
So now it comes to what is this Voice to Text? So let me tell you that this is a technique based on AI (artificial intelligence). Where it immediately converts Voice spoken by us into Text. That is, now the mess of writing is about to end completely.
These days, as many bloggers are, it is Content Writers. They always need to write. So this Voice to Text Generator Tool will prove to be very helpful. Because we and you know that it takes too much time to write articles. So if you use this tool, you can easily save your time.
Online Voice to Text Generator Tool
Steps to Create Voice to Text Generator Tool in Blogger/Blogspot
So we have learned about this Voice to Text tool above. But now the point is that after all can we make this tool in our Blogger or Blogspot website? So the answer is yes, you can easily create this Voice to Text File Generator Tool in your Blogger or Blogspot website.
So if you want to create such a tool in your website, then you have to follow the steps given below carefully. And as I said, you have to do it in your blogger website. So let's start.
Step #1: Go to Blogger Dashboard
First of all, you have to log into your Blogger Dashboard. This is the first step to make the tool in your website.
Step #2: Copy The Script
Now you have provided this Voice to Text Generator Tool HTML Script in the box below. You have to copy the code given below. In this script you have HTML, CSS and JavaScript available simultaneously.
Step #3: Create New Page/Post
Now you have to go to the Blogger Dashboard and if you want to create a tool in a page, click on Create New Page and if you want to create a tool in a post, click on Create New Post.
Now you have to write the title of your Page / Post and click on HTML View. Now paste this code that you had copied. Also you have to click on Publish.
Step #4: Tool Successfully Created
Now your tool is ready to be used in its entirety. Now you can add it to the main menu of your blog or even share it with your friends.

Comments
Post a Comment
Hello boys and girls Are you searching whatsapp status?
You are on the right Whatsapp Status Video channel. We give you a big collection of New Whatsapp Status Video.NUR EDTING channel has many status categories such as love status, attitude status, whatsapp new status, status in hindi, sad status,inspirational status,romantic New Whatsapp Video Status break-up Status,funny status,facebook status.I hope you enjoy NUR EDTING post.